


0 of 0
About this mod
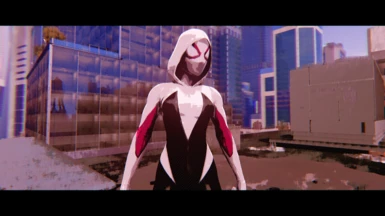
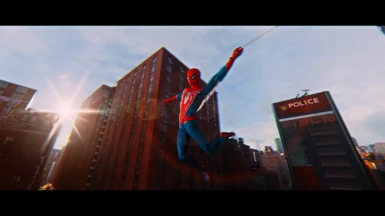
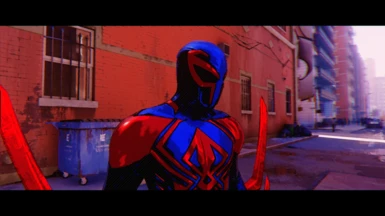
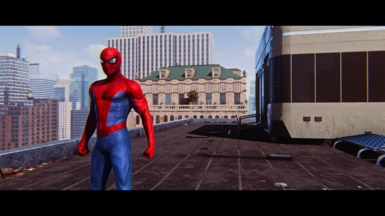
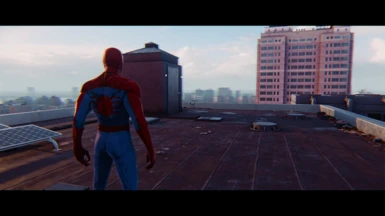
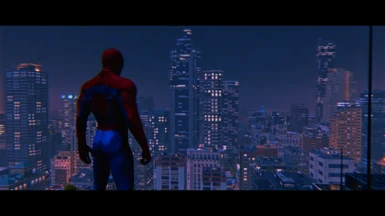
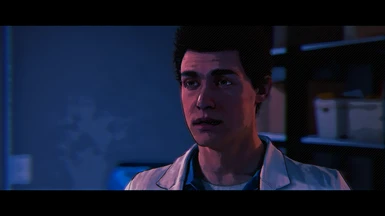
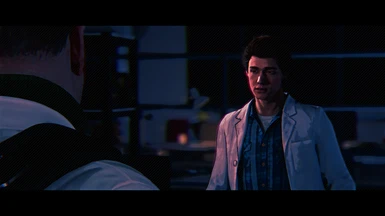
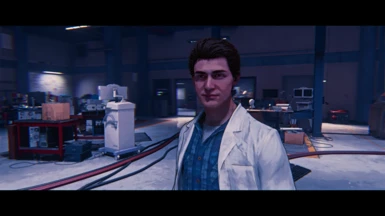
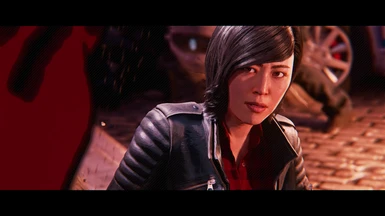
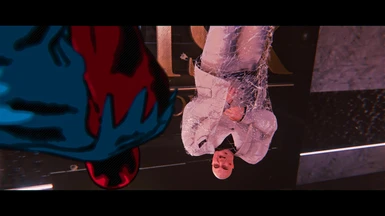
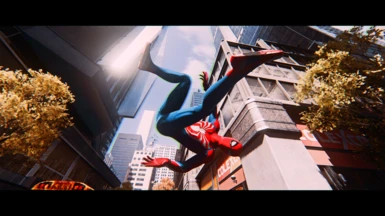
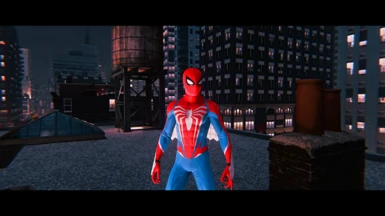
Dive into the breathtaking visual world of the Spider-Verse films, now recreated in the game!
- Requirements
- Permissions and credits
- Changelogs
- Donations
Everyone keeps telling me how my story is supposed to go. Nah. Imma do my own thing. - Miles Morales
Insomniac Spider-Verse

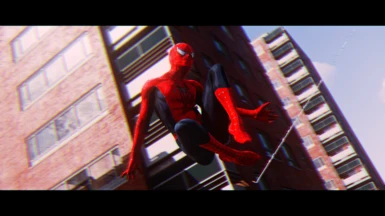
GuitarthVader's 2007 Raimi Suit
Revamped visuals based mainly on Earth-1610 in the Spider-Verse films
Revamped visuals based mainly on Earth-1610 in the Spider-Verse films
Contents
- Introduction
- List of features
- Tutorial
- Troubleshooting
- Recommended mods
- Special thanks
Introduction
ReShade is a post-processing injector that enhances graphics and adds various effects to your games. ReShade supports all of Direct3D 9, Direct3D 10, Direct3D 11, Direct3D 12, OpenGL and Vulkan. A computer with Windows 7 SP1, 8.1 or 10 and .NET Framework 4.5 or higher installed is required.
This preset attempts to accurately replicate the style of the Spider-Verse movies as close as possible.
Please note: ReShade presets may or may not significantly impact your game's performance.
List of features
- Halftone dots
- CMYK offsetting
- Motion smears
- Painterly strokes
- Simplified shapes, values, hues
- Cross hatching lines
- Chromatic aberration
- Spider-Verse Inspired colour grading
- Ink lines
Tutorial
Make sure to carefully follow the tutorial step-by-step.
Prerequisites:
You must set up the following before in order to install and use the mod properly. Make sure to do this correctly before asking for help.
- ReShade Installer: Download and install the latest version of the ReShade framework from the official ReShade website (https://reshade.me/). Follow the installation instructions provided on the website.
- Keep Dynamic Resolution Scaling disabled: Dynamic Resolution Scaling will mess up the depth effects and cause flickering and visual glitches. Keep this setting disabled.
- Exclusive Fullscreen disabled: It is also highly recommended to turn off Exclusive Fullscreen mode and be in just Fullscreen instead, because every time you alt-tab (switching between windows), the ReShade depth buffer will refresh and will be unselected. The depth effects will not work properly if the correct depth buffer isn't selected, so for your convenience, don't use Exclusive Fullscreen.
- Aspect Ratio Adjustments: Depending on the aspect ratio you are using, you may have to adjust your depth buffer. While the default ratio 16:9 won't have this issue, I personally play in 21:9, and will have incorrect depth buffer by default ReShade installation. Either play in 16:9 or else, please refer to the depth buffer guides in the Troubleshooting section. For players with different aspect ratios, remember to keep AspectRatioMultiGrid shader on! You can then configure this to match your ratio. This will prevent any effects leaking over the image.
The issues mentioned in 2. and 3. cannot be resolved at this time, hence I'm providing this workaround.
Installation:
- Download the Preset: Locate the "Files" tab and download it to your computer.
- Locate Game Directory: Open the file explorer and navigate to the directory where your game's executable file is located. This is typically where the game is installed (e.g., C:\Program Files\GameName).
- Install Preset File: Drag the downloaded .ini preset file and drop it into the game directory.
- Install ReShade: Locate the ReShade installer executable file you downloaded (e.g., ReShade_Setup_X.Y.Z.exe). Run this installer.
- Select Game: When prompted, pick the .exe file of the game you want to install ReShade to. Depending on your system, you might see some games listed already. Sometimes games don't appear on the list, so then you can click on the Browse button and select the game executable file (e.g., GameName.exe) from the game directory.
- Install Preset: After selecting the rendering API, the installer will ask you to select a preset file to install all used effects. Make sure you choose the correct preset file. Then click next until you get the successful install screen.
- Launch the Game: Start your game. The ReShade indicator should appear in the top left corner of the screen when the game launches. The preset's effects will load automatically.
- Select the correct Depth Buffer: This part is very important! as stated above, if the correct depth buffer isn't selected, the effects will not work properly. Go into the addons tab at the top of the menu. Then click on the buffer in the list that shows the correct depth. This must be done manually every time you launch as it resets each time the game is closed. I've also looked into ways to solve this, but it appears unfixable for the time being. In case of any flickering, try enabling Copy depth buffer before clear operation checkbox, but make sure to not click "Copy depth buffer before clear operation after frame" option that pops up underneath.
Next, choose the appropriate rendering API (usually DirectX) based on the game's settings.
For more info, visit the links down in the Troubleshooting section.
Congratulations! You've successfully installed this mod. Enjoy the enhanced visuals and effects.
If you tried and enjoyed it, please consider Endorsing, as it can help others find this mod.
The ability to endorse a file is only made available 15 minutes after initially downloading the file.
Troubleshooting
Here are links to guides that will help you out in case you run into any issues.
- 01 Introduction to ReShade - MARTY'S MODS (martysmods.com)
- 02 Setting-Up ingame - ReShade UI - MARTY'S MODS (martysmods.com)
- 03 Depth Buffer: Advanced 3D Rendering in Games & Graphics (martysmods.com)
- 04 Preset Installation - MARTY'S MODS (martysmods.com)
- ReShade 101 - YouTube
- How To fix most of your problems with ReShade - YouTube
- Introducing: Easy Troubleshooting - ReShade Forum
- How to Fix a Misaligned Depth Buffer on ReShade - YouTube
Recommended mods
These were the lighting mods that I had installed while I took my screenshots, so the results may differ if you are in vanilla lighting.
- Alternate daytime (SM2 inspired)
- E3 Colour Grading (from Spider-Man PC Modding Discord)
- Alternate sunset lighting
- Custom Night Lighting (from Spider-Man PC Modding Discord)
Special thanks